This project is a mashup of different experimentations. I wanted to try the SHT21 sensors and I was looking for a CO2 sensor at the same time accurate and not too expensive.
CO2 Sensor
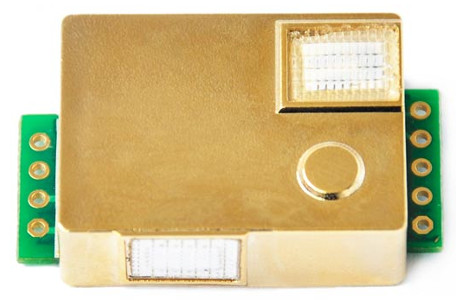
Until recently, gaz sensors were either analogue (and totally uncalibrated) or relatively expensive (when not both at the same time). Then came the MH-Z14 which is a affordable "Non-Dispersive InfraRed" sensor, in theory quite selective.
The MH-Z19 from the same company can be found for ~ $25. The main issue is the partial documentation. Some commands are still a bit obscure.
A great source of information is the wiki https://revspace.nl/MHZ19 and there a quite a few examples on github to get started.
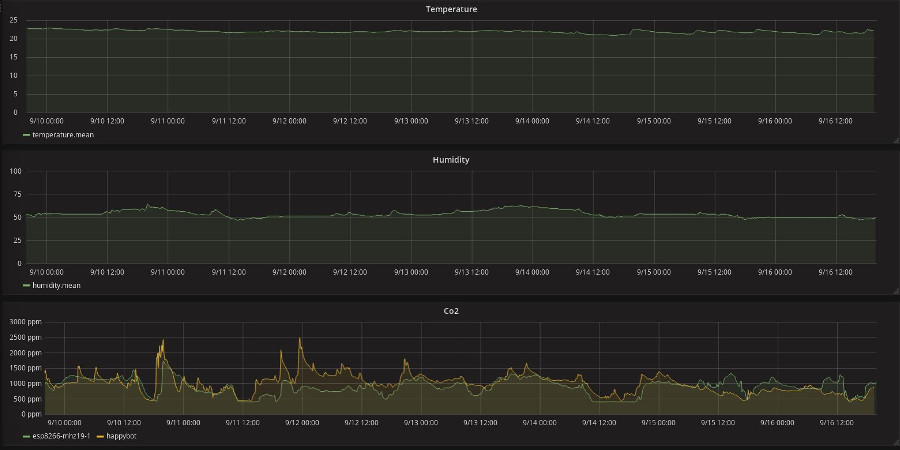
At first experimentations were a bit frustrating but after a while things started to stabilise a bit and sensor's readings from the past few month seem to make sense. The solution was to reject sub-standard readings and to average valid ones over a period of 5 minutes.
One quite annoying thing a bit this module when using breadboard or prototype PCB is that it has weird dimensions (not a multiple of 2.54mm) and won't fit nicely.
Calibration
Calibration can also be an issue, specially because of the ABC calibration every 24h. The system would be great if it spanned over let's say a week which would give you several chances to open the window but as it is (i.e. using the minimum value of previous day as base), reading were becoming strange day after day. It turns out that it works a lot better without ABC and a manual calibration from time to time.
Then manual calibration can be triggered by software or using the hardware pin. To avoid trying to fit a switch on the enclosure, the solution retained was to use a reed switch inside and to press a neodymium magnet on the cover once the air of the room has been well recycled.
Wemos D1 mini
Although I initially planned to use nodemcu modules, I decided to try Wemos D1 mini which are smaller, cheaper and able to cope with higher speed communication via USB so firmware upload is twice as fast.
Besides this, there really behave like any other ESP8266 solution. Wemos offers a good selection of shields (power, relay, LED, sensor, ...) which I haven't tried as well as modules based on the more powerful ESP32.
It is probably best to use their official online shop as there seems to be quite a lot of fake modules around, and not necessarily cheaper.
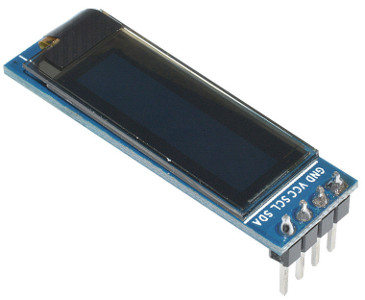
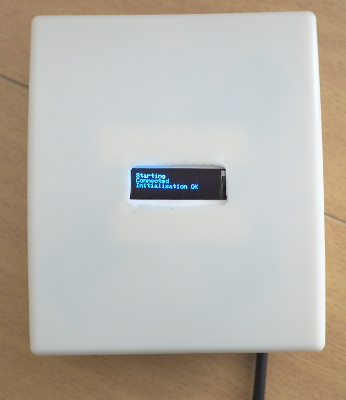
I2C Oled
Having used a 0.96" Oled screen for the time bomb, I really thought that using a 0.91" 128x32 I2C SSD1306 screen would be trivial. As it turns out, library for the former is not compatible with the latter because they lack of a proper framebuffer. After digging around, I found that the Adafruit library was working (one parameter is of a different value) even if the hardware looks quite different (more pins).
To be perfectly honest, if I was to make another sensor, I would give up the screen and use coloured Led shinning through (the plastic is slightly translucent) as the physical fitting was probably the most challenging part of this project (even if simple by DIY standard).
A sprinkle of MQTT
Communication with base is, of course, via MQTT, nothing new or complicated here. There is a sampling every minute for the CO2. The average value as well as the current values of temperature and relative humidity are sent every 5 minutes.
Wifi off (really?)
Since this new sensor is installed in our bedroom, I wanted to switch the Wifi on only when needed MQTT communication to send the values. I basically used the dedicated function for this. Is is really switching off "radiations"? Who knows... as I discovered with the electricity meter project, electric consumption is not lowered by it.
Powering the sensor
I knew from the start that using battery would be a challenge and I didn't even bother. Between the screen, MH-Z19 and the Wifi, it is probably around 200mA anyway. The USB port of the Wemos D1 mini is plugged directly on a small power adapter. The usb cable can also be used to upgrade the firmware as no OTA was implemented on this project.
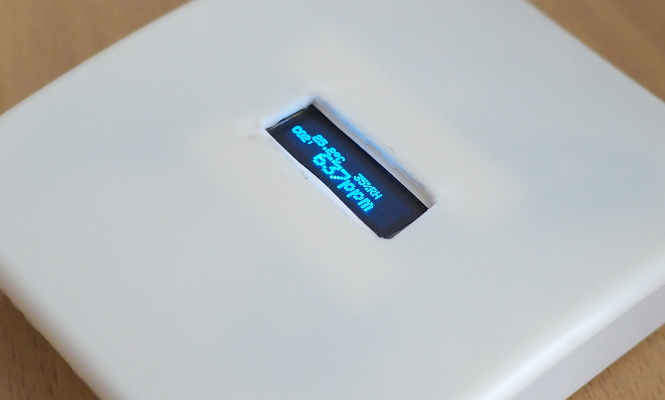
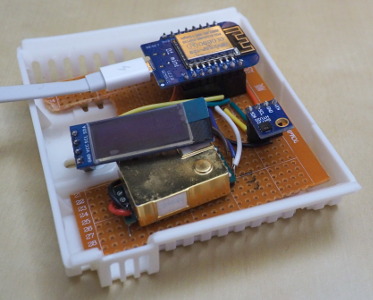
All in a "sensor box"
Like almost everything else, directly from China, I found an enclosure designed for sensors (or thermostat?) which was the right size to fit everything. The USB power adapter is external, the ESP8266 at the top and the thermometer at the bottom, by the vents in order to stay as accurate as possible. Despite this, the temperature appears 1.5°C higher than without cover. The offset can be corrected in software.
Code
As usual the code and schematics are available (AS IS) on github. It includes a SHT library and MH-Z19 library.